5 COMMON AREAS YOU CAN HAVE LEAKS
5 TYPES OF LEAKS AND HOW TO IDENTIFY THEM
Top 5 Types of Leaks: How to Identify and Fix Them Fast!
Leaks can lead to costly damage if not addressed quickly. Discover the top 5 types of leaks, how to identify
them, and fix them fast to protect your home.
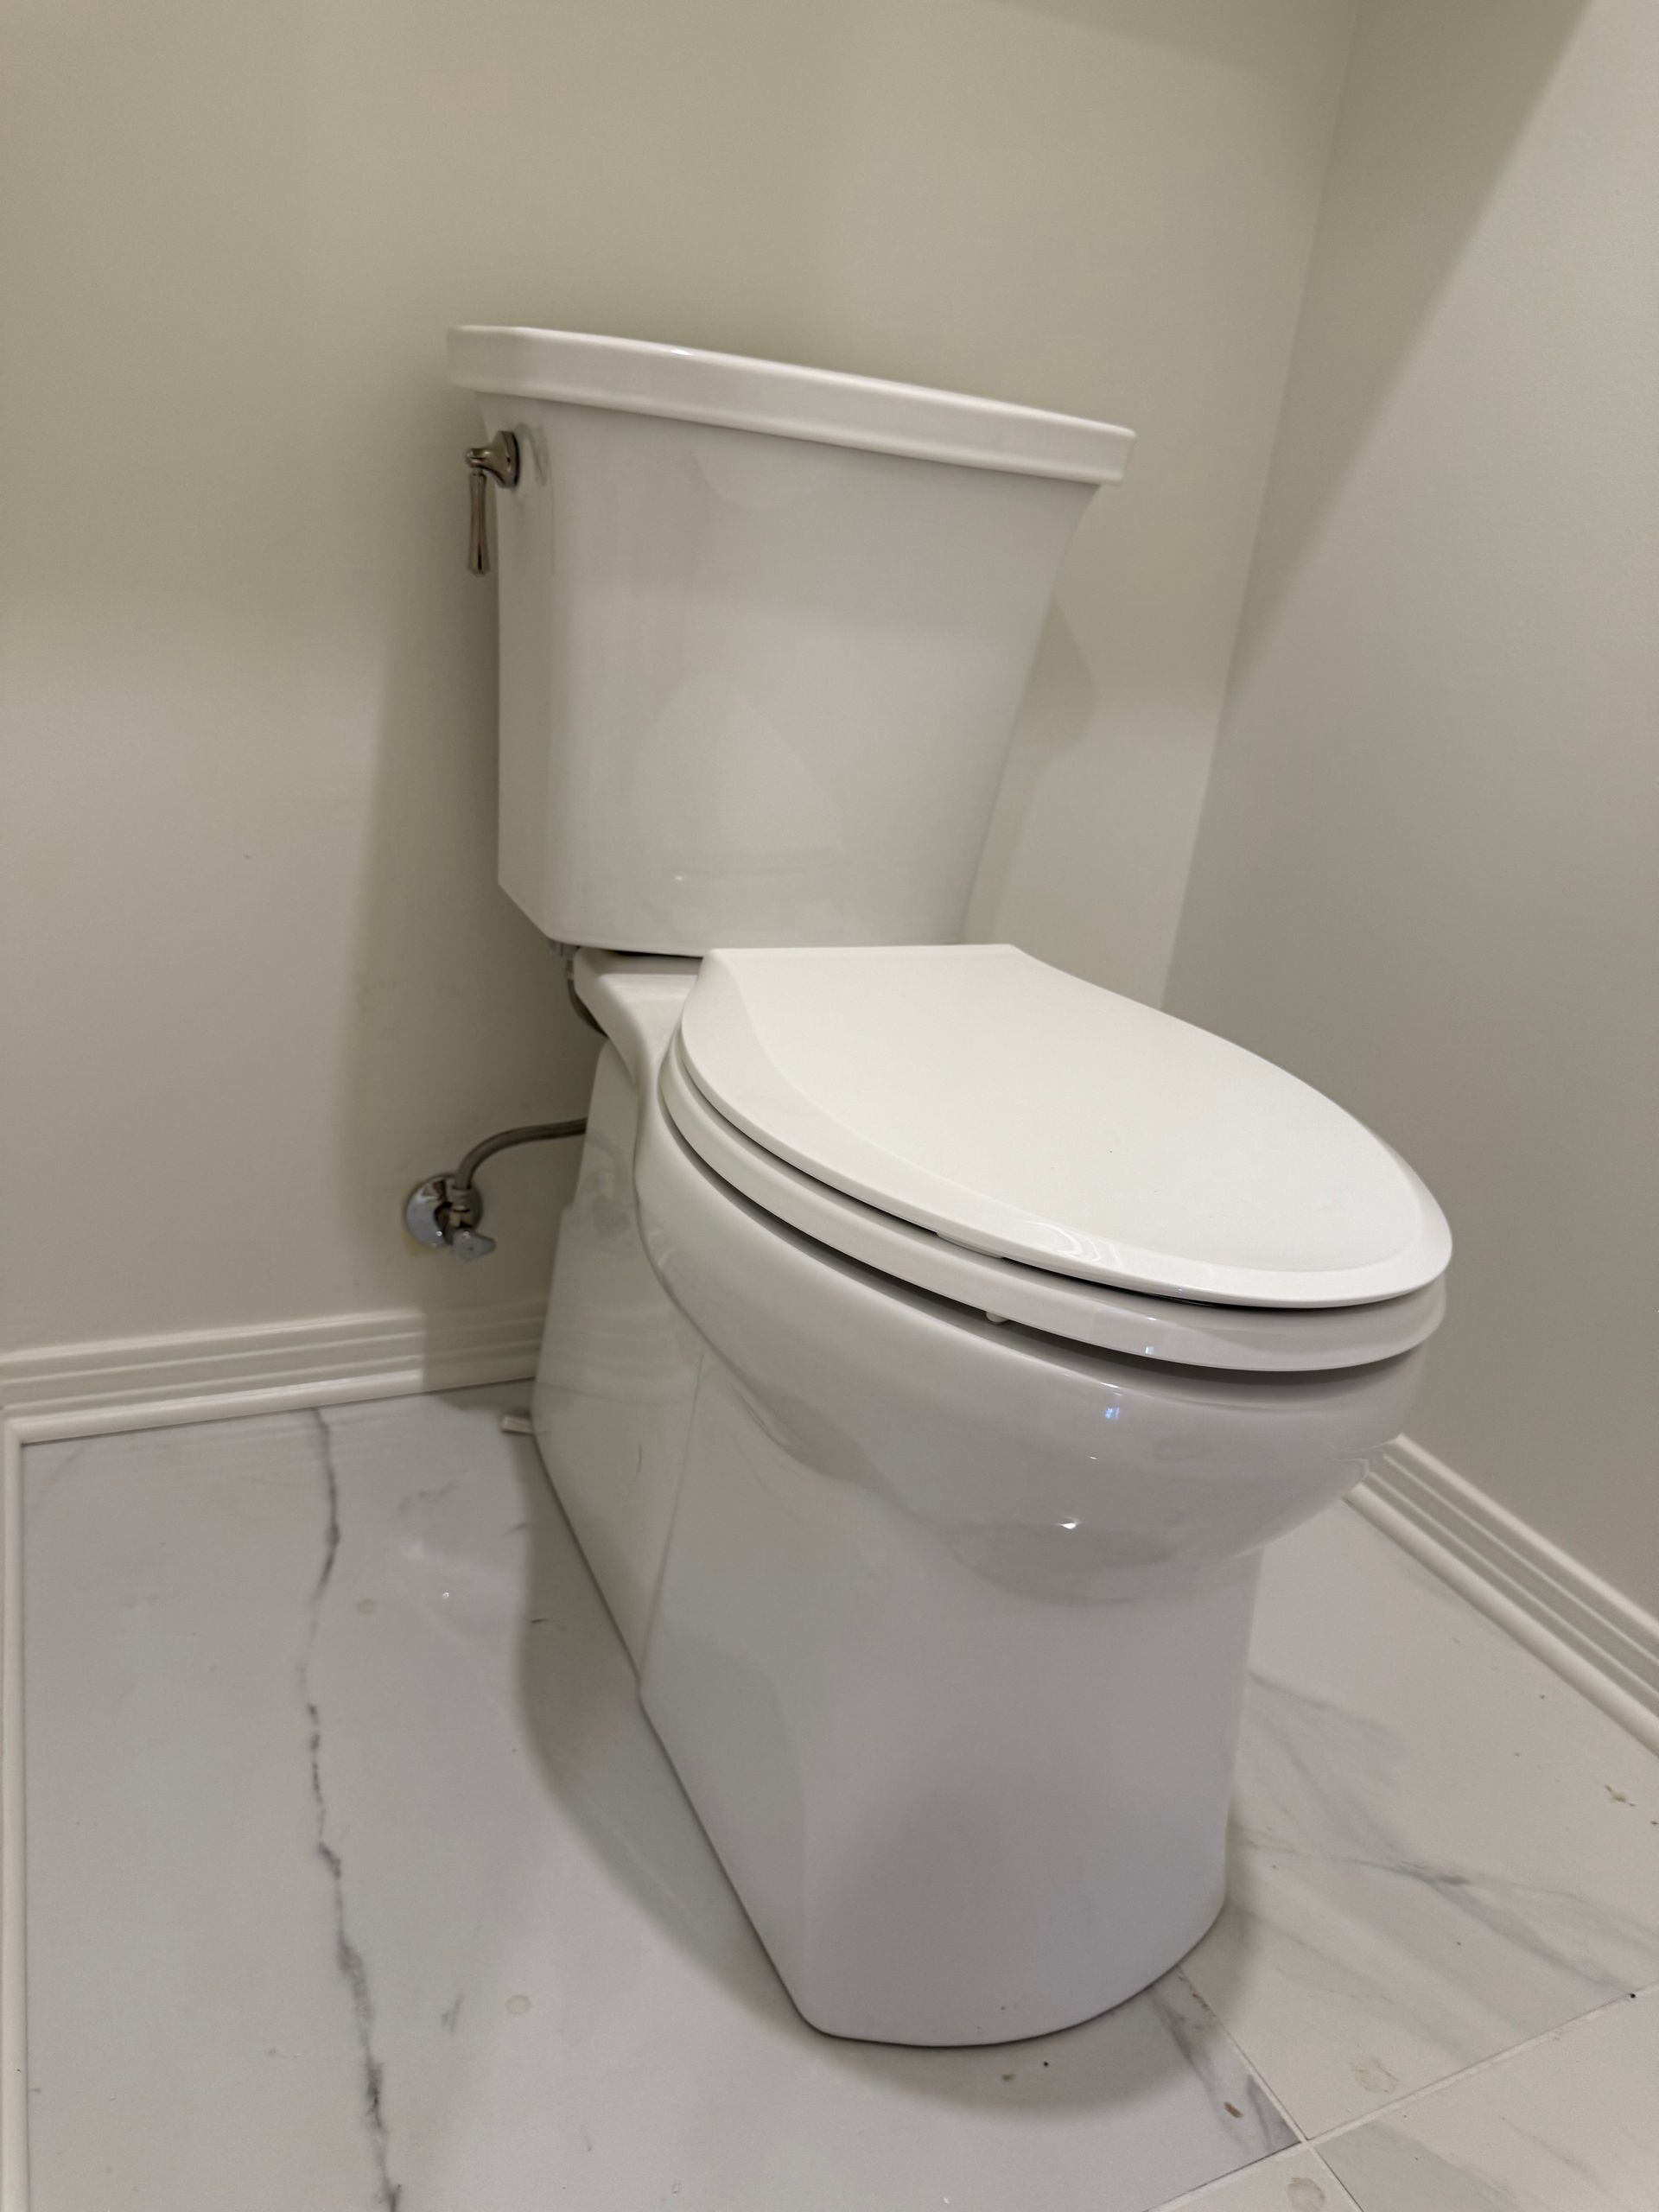
Type 1: Plumbing Leaks - Signs and Solutions
Plumbing leaks are among the most common and potentially damaging issues homeowners face. These leaks
can occur in various parts of your plumbing system, including pipes, faucets, and fixtures. One of the first signs
of a plumbing leak is an unexpected increase in your water bill. If you notice a spike in your monthly water
costs without a corresponding increase in usage, it’s time to investigate for leaks. Additionally, look for visible
signs such as water stains on walls, ceilings, or floors, as well as the sound of running water when all taps are
turned off.
To fix a plumbing leak, the first step is to identify its source. For visible leaks, such as those under sinks or from
faucets, you can often see the water dripping. Tightening connections or replacing worn-out washers and seals
can frequently resolve these minor leaks. For hidden leaks, such as those inside walls or under floors, you may
need to use a moisture meter or infrared camera to pinpoint the problem area. Once located, you may need to
cut into walls or floors to access and repair the damaged pipes. Depending on the severity, you might need to
replace sections of piping or fittings.
In cases where the leak is extensive or difficult to locate, it may be best to call a professional plumber. They
have the tools and expertise to diagnose and repair plumbing issues quickly and effectively. Regular
maintenance, such as inspecting and replacing old or corroded pipes, can also help prevent future plumbing
leaks.
Type 2: Roof Leaks - Detection and Repair Techniques
Roof leaks can cause significant damage to your home’s structure and interior if not addressed promptly. The
first signs of a roof leak typically include water stains on your ceiling or walls, damp spots, or even puddles in
your attic. During heavy rain, you might also notice water dripping from the ceiling or running down walls.
Inspecting your roof from the outside after a storm can also reveal missing or damaged shingles, which are
common entry points for water.
To repair a roof leak, start by locating the source of the leak. This can be challenging, as water often travels
along rafters and beams before it becomes visible inside your home. Begin by checking the attic for any signs of
water infiltration, such as damp insulation or wood. Use a flashlight to look for water stains or trails. Once
you’ve identified the general area, carefully inspect the roof’s exterior for damaged or missing shingles, cracked
flashing, or other vulnerabilities.
Minor roof repairs, such as replacing a few shingles or sealing small cracks, can often be done as a DIY project.
Use roofing cement or sealant to fix small cracks and replace damaged shingles by sliding new ones into place
and securing them with roofing nails. For larger or more complex repairs, or if you’re uncomfortable working
at heights, it’s advisable to hire a professional roofer. Regular roof inspections and maintenance, such as
cleaning gutters and removing debris, can help prevent leaks from occurring.
Type 3: Basement Leaks - Prevention and FixesBasement leaks can lead to mold growth, structural damage, and a host of other problems. Common signs of
basement leaks include damp or wet walls, floors, or carpets, as well as a musty odor that indicates mold or
mildew. In some cases, you may also notice efflorescence, a white powdery substance on the walls, which is left
behind when water evaporates and mineral deposits are left behind. Cracks in the foundation or walls can also
be a telltale sign of water intrusion.
To fix basement leaks, start by identifying the source of the water. This could be from groundwater seeping
through the foundation, poor drainage around the home, or plumbing leaks. Ensure that the ground around
your home slopes away from the foundation to prevent water from pooling. Clean and extend downspouts to
direct water away from the house. Applying waterproofing sealant to the interior walls can also help prevent
water from seeping through.
For more severe leaks, consider installing a sump pump to remove water that accumulates in the basement.
French drains, which are trenches filled with gravel and a perforated pipe, can also be installed around the
perimeter of the basement to direct water away from the foundation. If foundation cracks are the issue, you
may need to have them professionally repaired to ensure the stability and waterproofing of your home.
Regularly inspecting your basement for signs of moisture and addressing issues promptly can help prevent
long-term damage.
Type 4: Window and Door Leaks - How to Seal Them
Effectively
Window and door leaks can lead to drafts, increased energy bills, and water damage to walls and flooring.
Common signs of these leaks include condensation on the inside of windows, water stains or damage around
window and door frames, and noticeable drafts. During heavy rain, you might also see water pooling on
window sills or near door thresholds. These leaks are often caused by deteriorating caulking or
weatherstripping, gaps in the frames, or improperly installed windows and doors.
To seal window and door leaks, start by inspecting the caulking and weatherstripping around the frames.
Remove old, cracked, or damaged caulk using a putty knife and clean the area thoroughly. Apply a new bead of
exterior-grade caulk around the edges of the window or door frame, ensuring a tight seal. For doors, replace
worn or damaged weatherstripping to prevent drafts and water intrusion. Door sweeps can also be installed at
the bottom of doors to block gaps and keep out water and air.
If the window or door itself is damaged or improperly installed, it may need to be repaired or replaced. Ensure
that all components are correctly aligned and that the frames are secure. In some cases, adding storm windows
or doors can provide an additional layer of protection against leaks. Regularly inspecting and maintaining the
seals around windows and doors can help prevent leaks and improve energy efficiency in your home.
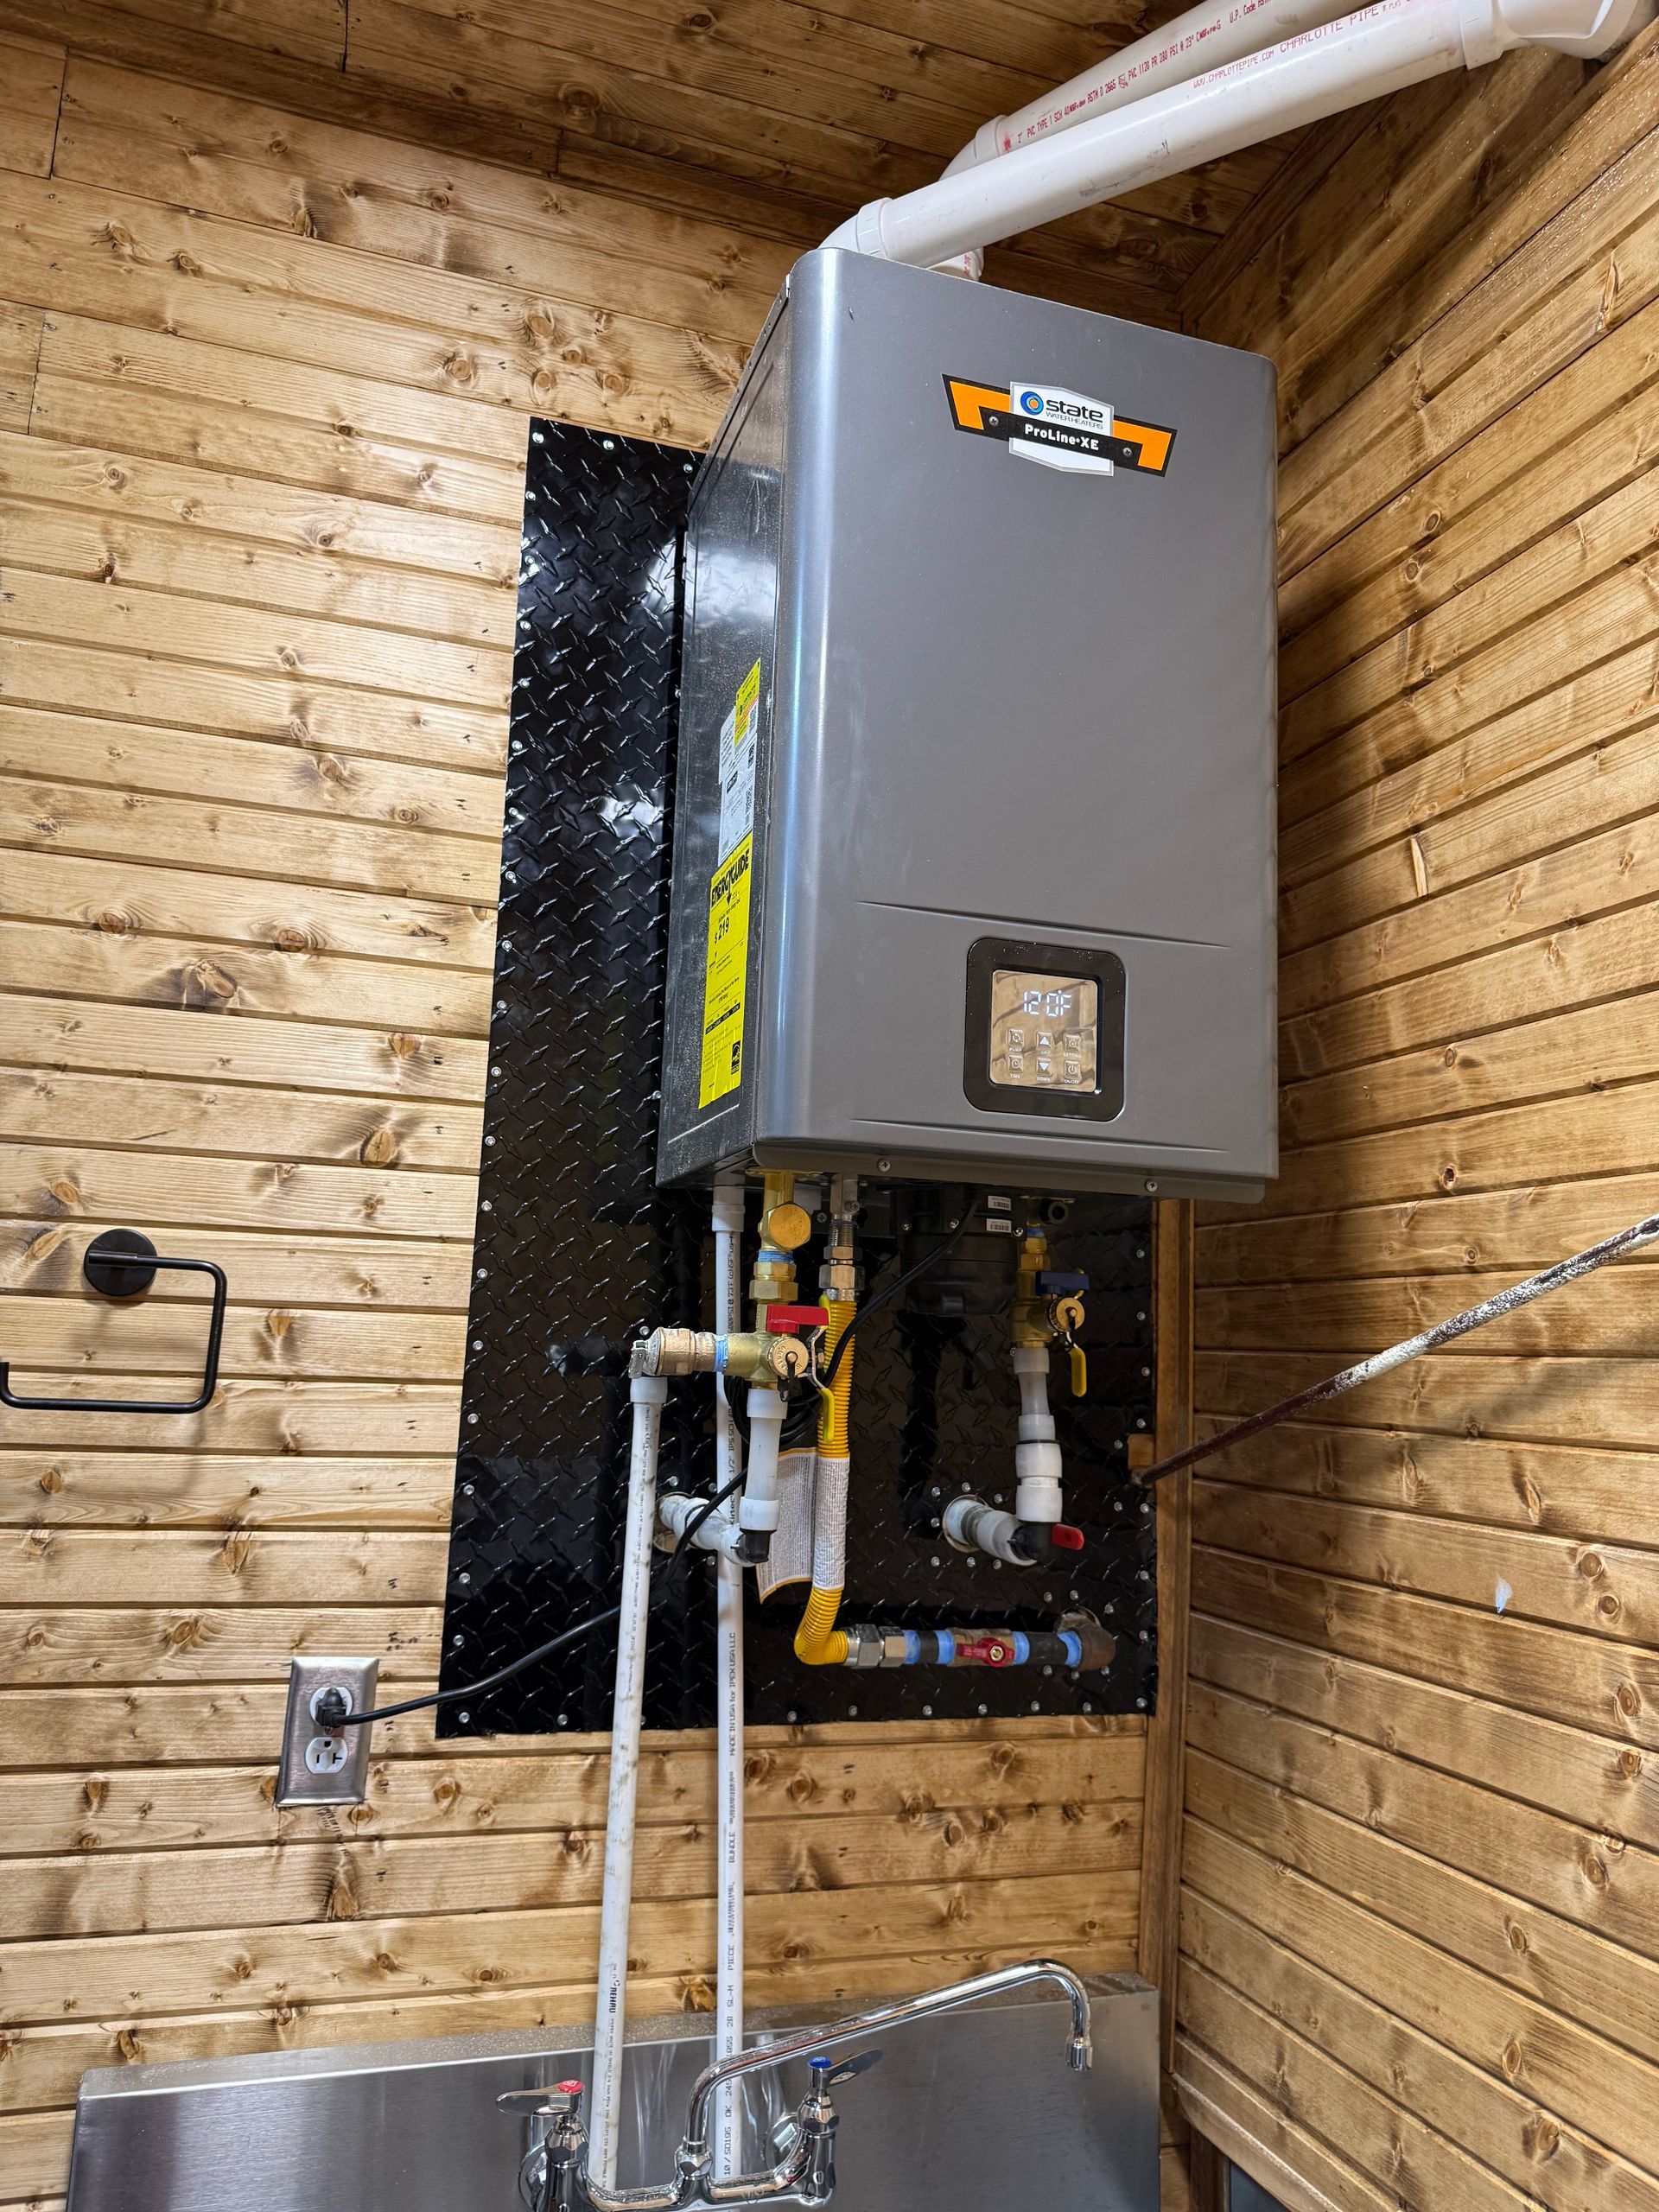
Type 5: HVAC Leaks - Identifying and Addressing Issues
HVAC leaks, particularly those involving air conditioning units, can lead to water damage and reduced system
efficiency. Signs of an HVAC leak include water pooling around the unit, unusual sounds, and decreased cooling
efficiency. If you notice water dripping from your HVAC system, it’s essential to address the issue promptly to
prevent further damage. Common causes of HVAC leaks include clogged condensate drains, frozen evaporator
coils, and low refrigerant levels.
To fix an HVAC leak, start by checking the condensate drain line for clogs. This line carries condensation away
from the unit, and if it becomes blocked, water can back up and overflow. Use a wet/dry vacuum to clear any
obstructions from the drain line. Next, inspect the evaporator coils for ice buildup, which can occur if the
system is low on refrigerant or if airflow is restricted. Turn off the unit and allow the coils to thaw completely
before cleaning them and checking for leaks.
If you suspect a refrigerant leak, it’s best to call a professional HVAC technician, as handling refrigerants
requires specialized knowledge and equipment. Regular maintenance, such as changing air filters, cleaning
coils, and ensuring proper airflow, can help prevent HVAC leaks and keep your system running efficiently.Tools and Materials Needed for Leak Repair
Having the right tools and materials on hand can make leak repairs quicker and more effective. For plumbing
leaks, you’ll need adjustable wrenches, pipe cutters, pipe sealant tape, and replacement washers or fittings. For
roof leaks, essential tools include a ladder, roofing nails, roofing cement, and replacement shingles. Safety gear,
such as gloves and a harness, is also crucial when working at heights.
For basement leaks, you may need a sump pump, waterproofing sealant, and a moisture meter. French drain
components, such as gravel and perforated pipe, can also be necessary for more extensive drainage solutions.
When dealing with window and door leaks, have a caulking gun, exterior-grade caulk, weatherstripping, and
door sweeps on hand. For HVAC leaks, a wet/dry vacuum, coil cleaner, and replacement air filters are essential
tools.
Keeping these tools and materials readily available can help you address leaks as soon as they arise, preventing
further damage and reducing repair costs. Additionally, investing in quality tools and materials can ensure
more effective and long-lasting repairs.
DIY vs. Professional Help: When to Call a Plumber
Deciding whether to tackle a leak repair yourself or call a professional depends on the severity and complexity
of the issue. Minor leaks, such as a dripping faucet or a small roof leak, can often be handled with basic DIY
skills and tools. These repairs typically involve straightforward tasks like tightening connections, applying
sealant, or replacing worn components.
However, for more extensive or hidden leaks, such as those behind walls or involving the foundation, it’s often
best to call a professional. Plumbers, roofers, and other specialists have the expertise and equipment to
diagnose and repair leaks quickly and effectively. They can also identify underlying issues that may not be
apparent to the untrained eye, preventing further damage and costly repairs down the line.
Consider your comfort level and experience with home repairs when deciding whether to DIY or hire a
professional. If you’re unsure or uncomfortable with the task, it’s always safer to seek professional help.
Regular maintenance and inspections by professionals can also help prevent leaks and keep your home in top
condition.
Preventative Measures to Avoid Future Leaks
Preventing leaks before they occur is the best way to protect your home from water damage. Regularly
inspecting your plumbing system, roof, basement, windows, doors, and HVAC system can help you identify and
address potential issues early. Replace old or worn-out components, such as pipes, shingles, and
weatherstripping, to maintain a secure and leak-free home.
Maintaining proper drainage around your home is also crucial. Ensure that gutters and downspouts are clean
and in good condition, and that the ground around your foundation slopes away from the house. Installing
features like sump pumps and French drains can provide additional protection against basement leaks.
Regular HVAC maintenance, such as changing air filters, cleaning coils, and checking refrigerant levels, can
help prevent leaks and improve system efficiency. Sealing windows and doors with high-quality caulk and
weatherstripping can also reduce the risk of leaks and improve energy efficiency. By taking these preventative
measures, you can avoid costly repairs and keep your home safe and dry.
Conclusion: Keeping Your Home Leak-Free
Leaks can cause significant damage to your home if not addressed promptly. By understanding the top 5 types
of leaks, how to identify them, and how to fix them quickly, you can protect your home and avoid costly
repairs. Whether dealing with plumbing, roof, basement, window, door, or HVAC leaks, having the right toolsand knowledge is essential. Regular maintenance and preventative measures can also help keep your home
leak-free and in excellent condition.
Deciding whether to tackle a repair yourself or hire a professional depends on the complexity of the issue and
your comfort level with DIY tasks. For extensive or hidden leaks, it’s often best to seek professional help to
ensure a thorough and effective repair. By staying vigilant and addressing leaks promptly, you can maintain a
safe, dry home for years to come.
You might also like